
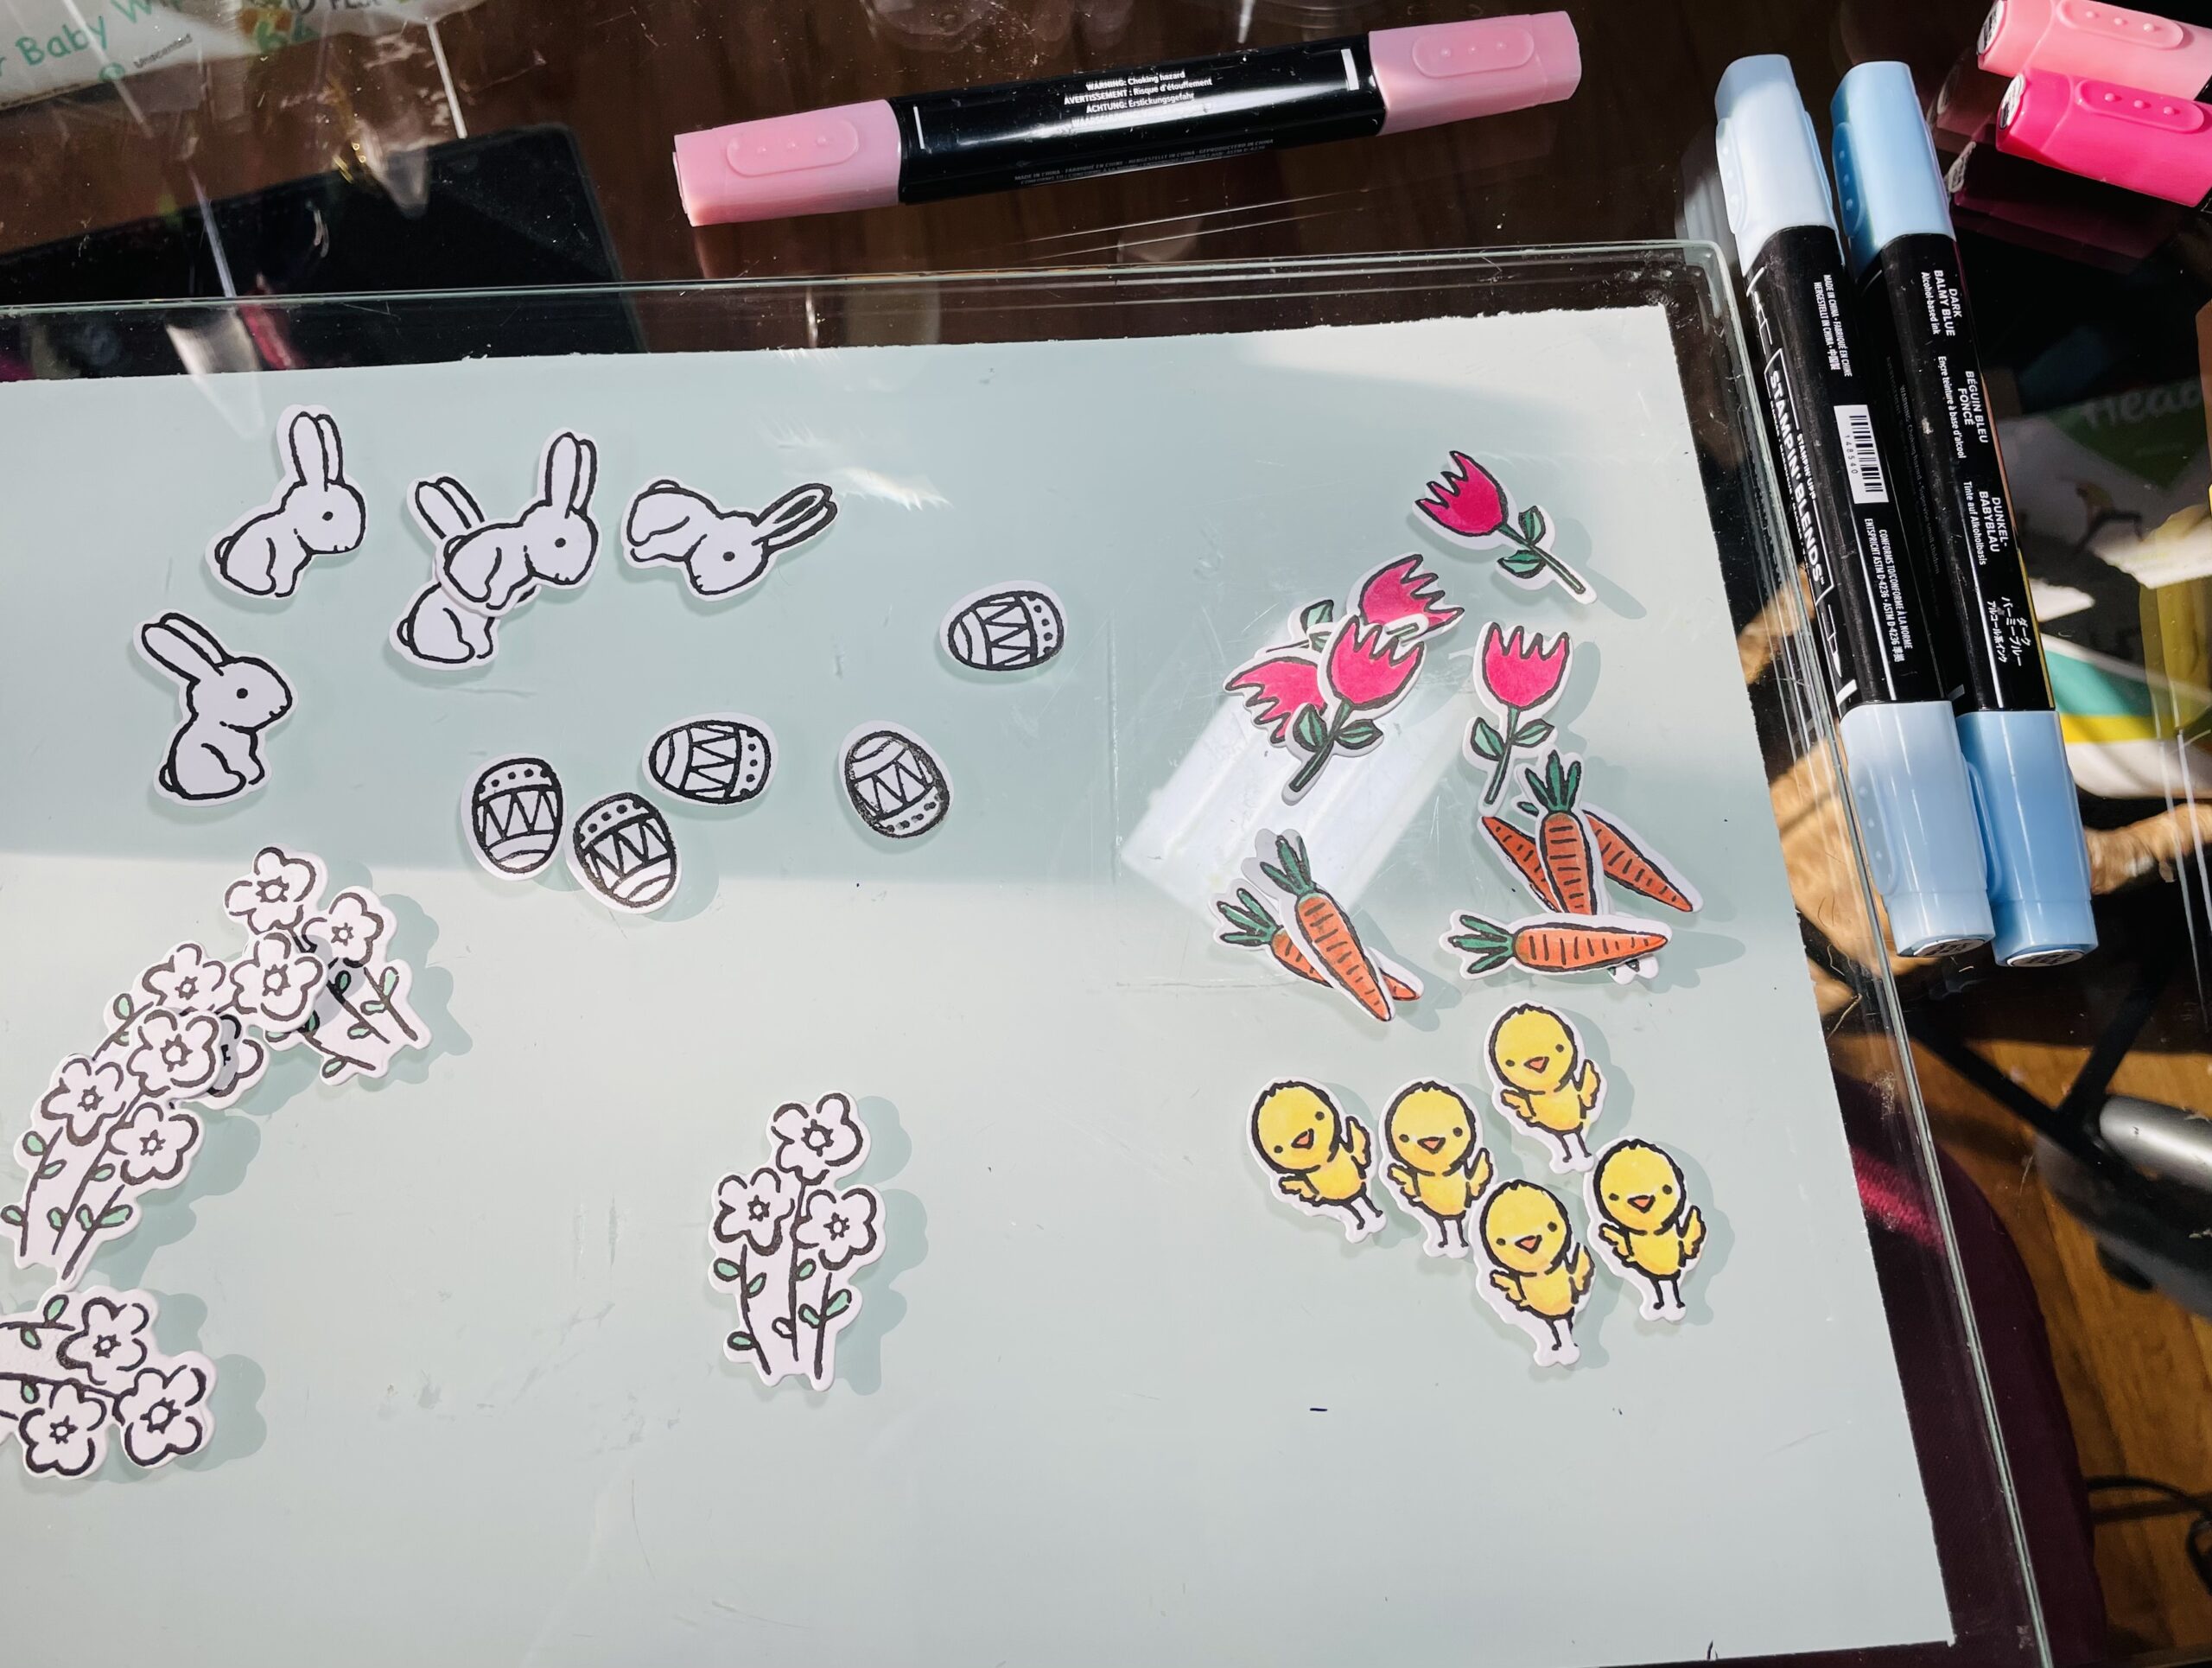
Look at the adorable elements of this Easter Basket set….Daffodils, Tulips, flower patch, chicks, eggs, BUNNIES!
Stamp Quick Like a Bunny!
When an impossibly cute stamp and die set like The Easter Basket set comes along, part of the charm is in all of the details possible with how you as a maker use the dies to shape your project. It can be a challenge to to stamp and cut images one at a time…so let me teach you how to get many images done at a clip so fast your images will be multiplying like, well, Rabbits!


Create a template to position your die cuts
When a set has many images it can be helpful to have multiples available for you project. I like to use large Mint Tape or Post it Tape to adhere mutiple dies together so I need not reposition them each time I am running them through my stamping cut and emboss machine. The first time I do this with a set I use a bold color of cardstock to cut the images out and save this piece as an alignment tool for stamping. I keep it with the die set for future use.
Then I proceed to cut the number of sets of images that I will work with for the specific project. See the picture below.
Wow. That’s a lot of images cut and ready to stamp…I want to convince you that it is faster to cut first stamp with a template second than to stamp stamp stamp and have to reposition your die to cut each and every time!


Use a stamp positioner and grip mat
As you grow into your stamping hobby, you will appreciate investing in quality tools that help you get repetitive tasks accomplished quickly. A couple of tools that are must haves are stamp positioners like The Stamparatus, The Misti, or the up coming SU! Stamp Positioner. Most of these devices come with magnetic surfaces to hold things in place with strong magnets. I prefer using a sticky mat such as this one from Waffle flower. It is perfect for using with a template as we created above! While Stampin’ Up! does not sell this product, it is one that is compatible with our products and is simple to use.
In this picture I am using the retired Stamparatus.
When you are ready to create, place the template on the sticky mat in your positioner tool. Then carefully place a copy of each of the die cuts you are going to stamp in the cut out windows in the template. They will stick to the grip mat and stay in place.
Then, place your stamps on the die cuts as though you were stamping, but without ink. Set all of them out and


then close the lid of your positioner.

When you open the lid up the stamps will have adhered to the lid, ready to be inked up!
Ink away and stamp as many times as you need to get crisp clear images.


Notice that there is a large part of the template for me to rest my hand on when I am ready to remove the die cuts after stamping. I put one hand on the large part of the template and then peel a piece of the template back to reveal the die cut to remove.
When removing the images from the template, to replace with unstamped die cuts, take care to lift just a portion of the template to access the die cut and stamped images for removal. I like to use the spatula tool on my Take Your Pick Tool to gently remove the die cuts to a drying pile for later coloring.
